Easy One Skein Beanie: Free Beginner Crochet Pattern
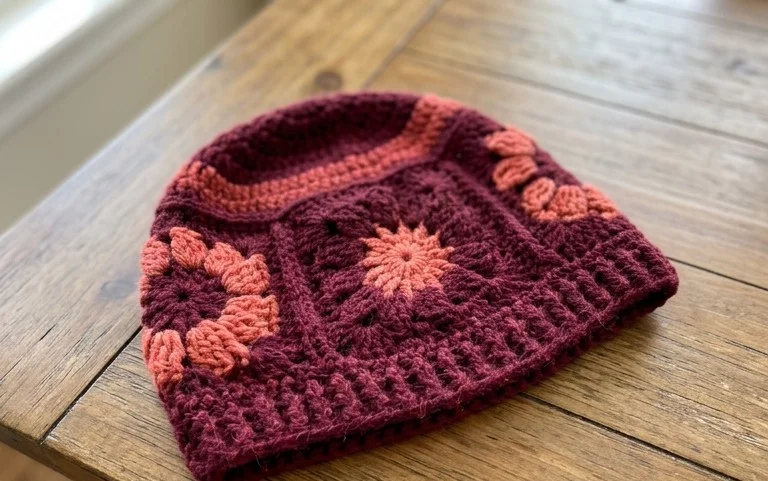
A thick, squishy hat keeps ears warm on frosty mornings, and this version uses a simple back loop stitch to create a distinct ribbed texture that looks high-end. Crocheting this piece feels meditative because you repeat one straightforward row until the fabric reaches the necessary length for your head circumference. It uses only one skein of yarn, making it a low-cost solution for last-minute gifts or stocking your own winter wardrobe. You will master the process of working flat before seaming, a technique that transforms a basic rectangle into a structured, cozy accessory that fits snuggly every single time.
Why You’ll Love This Pattern
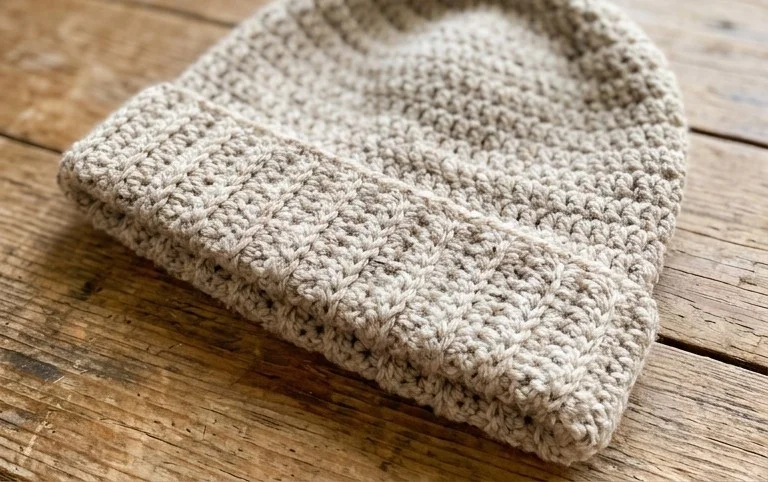
This crochet ribbed beanie pattern uses a simple construction method where you create a flat rectangular panel and seam it into a cylinder. The horizontal ribbing mimics a knit-look texture without requiring complex knitting skills or tools. It works up quickly because it uses a chunky weight yarn, making it an ideal weekend project for busy schedules. Beginners often prefer this pattern because it relies on working into the back loops only, which provides a satisfying, rhythmic flow to each row. The resulting fabric is both stretchy and dense, providing warmth during colder months.
I finished this hat in one evening while watching a movie. The ribbed effect looks professional and the fit is perfectly snug without being too tight.
— Sarah, hobbyist crafter
Pattern Overview & Skill Level
- Skill Level: Beginner
- Approximate Time: 2 to 3 hours
- Construction: Worked flat in one piece as a rectangle, then seamed at the side and gathered at the top.
- Finished Dimensions & Sizing: Adult medium, approximately 20 inches in circumference and 9 inches in height.
Materials & Supplies Needed
- Yarn: Bulky #5 weight, 100% acrylic or wool blend, approximately 150 yards.
- Hook Size: 6.0 mm (J-10) crochet hook.
- Notions: Yarn needle for seaming and weaving ends, locking stitch markers, and a measuring tape.
- Safe yarn substitutions: You may use a worsted weight yarn held double, though this will change the required hook size to 8.0 mm (L-11) and increase total yardage required by 10%.
Stitch Guide & Abbreviations (US Terms)
- ch = chain
- st = stitch
- sl st = slip stitch
- hdc = half double crochet
- BLO = back loop only. Insert hook only through the back strand of the V-shape on top of the stitch.
Step-by-Step Pattern Instructions
Hat Body Panel
You will work in rows to create the main rectangle. The chain at the start of each row does not count as a stitch.
- Row 1: Ch 35. Hdc in the second chain from the hook and in each ch across. (34 sts)
- Row 2: Ch 1, turn. Hdc in the BLO of each st across. (34 sts)
- Row 3-50: Repeat Row 2 until the piece measures roughly 20 inches long when slightly stretched.
Assembly and Finishing
- Side Seam: Fold the rectangle in half so the short edges meet. Using a tapestry needle and a long tail of yarn, whip stitch the edges together to form a tube. Secure the yarn and cut.
- Top Closure: Thread the yarn needle with a new length of yarn. Weave the yarn in and out of the stitches along the top edge of the tube. Pull the yarn tight to cinch the top of the hat closed. Secure firmly with a knot on the inside.
- Final Step: Turn the hat right side out and weave in all remaining loose ends on the inside.
Care & Washing Instructions
- Hand wash in cool water using a mild wool-safe detergent to maintain the integrity of the fibers.
- Lay the beanie flat on a clean towel to dry away from direct heat or sunlight.
- Avoid wringing or twisting the fabric while wet, as this can permanently distort the ribbed stitch pattern.
Pro Tips & Common Mistakes to Avoid
Maintain consistent tension throughout the project by keeping your yarn feed steady; loose tension makes the ribbing look uneven. Always place a stitch marker in the first stitch of every row to ensure you do not accidentally skip the final stitch, which causes the rectangle edges to slant. When weaving in ends, use the “duplicate stitch” method by following the path of existing stitches to hide your tail invisibly. To adjust the size, simply increase the starting chain length for a taller hat or add more rows for a larger circumference; note that adding size will increase your yarn requirement by roughly 10% for every two inches added.
Frequently Asked Questions
Can I substitute the bulky yarn for medium weight yarn?
Yes, but you must hold two strands of medium weight yarn together to achieve the correct gauge and structure for this beanie.
Is this pattern suitable for complete beginners?
This is a perfect beginner project as it only requires half double crochet stitches and the ability to work in back loops.
Can I sell the hats I make from this pattern?
Yes, you are free to sell items made from this pattern, but please credit the original design when listing your work.
How do I make the beanie slouchier?
To create a slouchy fit, increase your starting chain by 10 to 15 stitches before beginning Row 1.
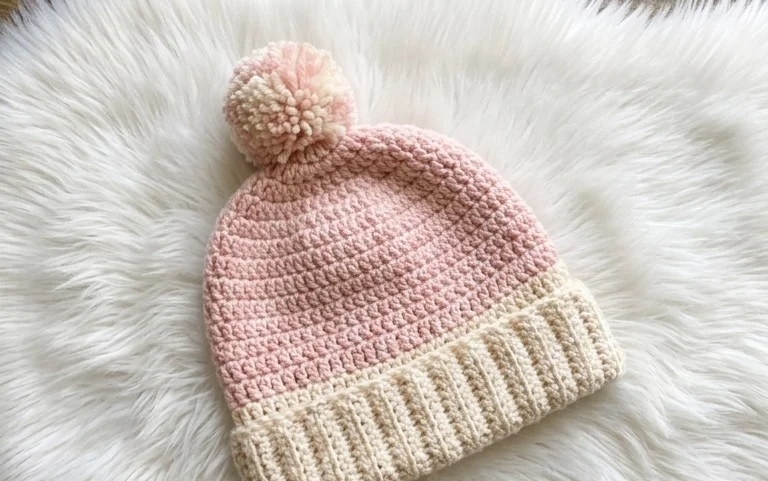
Your new handmade hat provides plenty of warmth for chilly outdoor walks or grocery runs. If you want to experiment, try adding a contrasting faux-fur pompom to the crown or alternating colors every few rows for a bold stripe effect. Please share a photo of your finished work online so others can see how your color choices turned out. Check back on the blog next week to find more beginner-friendly projects that use just one skein of yarn for fast, satisfying results without a lot of fuss.