Easy Floral Crochet Slouchy Hat: Free Step-by-Step Pattern
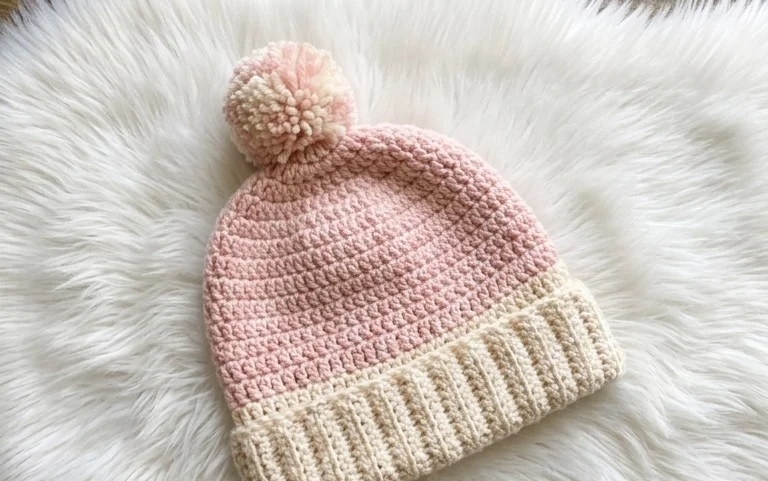
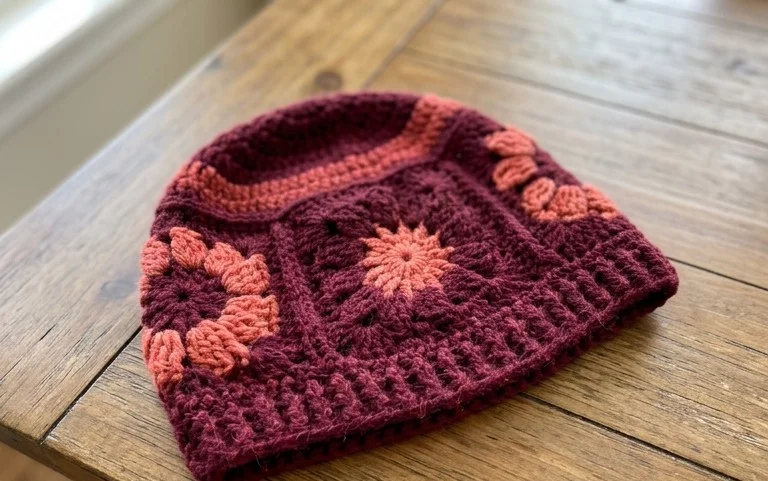
This crochet slouchy hat features a soft, squishy texture that feels wonderful against your ears during chilly morning walks. The finished item drapes gently at the back, giving you a casual and comfortable look that stays snug without feeling too tight. It remains an excellent project for beginners because you mostly work with simple half double crochet stitches to build the ribbing. You will learn how to transition from a flat rectangular panel into a cozy accessory by seaming the edges and cinching the top closed. This design makes a thoughtful handmade gift for friends who appreciate timeless, warm winter gear.
Why You’ll Love This Pattern
This crochet ribbed beanie offers a classic, fitted silhouette that relies on simple half double crochet stitches worked in the back loops. The construction uses a flat rectangle that is seamed at the side and cinched at the top, making it an ideal choice for those who prefer straightforward, meditative stitching. Because the pattern uses a stretchy ribbing technique, it is highly forgiving for different head sizes and creates a dense, warm fabric perfect for cold weather. You will find that the rhythm of the rows makes this an excellent project to pick up and put down while traveling or relaxing at home.
I finished this hat in one evening while watching a movie. The ribbed texture looks professional and has just the right amount of stretch without losing its shape.
— Sarah, hobbyist crocheter
Pattern Overview & Skill Level
- Skill Level: Beginner
- Approximate Time: 3 to 4 hours
- Construction: Worked flat as a rectangular panel, then seamed to form a tube and cinched to create the crown.
- Finished Dimensions & Sizing: Adult medium, approximately 18 inches in circumference (unstretched) and 9 inches in height.
Materials & Supplies Needed
- Yarn: Worsted weight (#4) acrylic or wool blend, approximately 200 yards.
- Hook Size: 5.5 mm (US I-9).
- Notions: Yarn needle, stitch markers, and scissors.
- Safe yarn substitutions: You may use a DK weight yarn for a lighter feel, though you will need to increase your starting chain length to maintain the height. Pure wool provides the most warmth, while acrylic blends offer superior durability and machine washability.
Stitch Guide & Abbreviations (US Terms)
- ch: chain
- hdc: half double crochet
- sl st: slip stitch
- BLO: back loop only (insert hook under the back loop of the stitch instead of both loops to create a ribbed effect).
- st/sts: stitch/stitches
Step-by-Step Pattern Instructions
Hat Body
The hat is worked back and forth in rows. The turning chain does not count as a stitch.
- Row 1: Ch 35. Hdc in the 3rd ch from hook and in each ch across. Turn. (33 sts)
- Row 2: Ch 2, hdc in BLO of each st across. Turn. (33 sts)
- Rows 3–50: Repeat Row 2 until the piece measures approximately 18 inches wide when slightly stretched. Do not fasten off.
Assembly and Finishing
- Seaming: Fold the rectangle in half, matching the short ends together. Slip stitch through both loops of the edges to join the side, creating a tube. Fasten off, leaving a 12-inch tail.
- Cinching the Crown: Thread your yarn needle with the long tail. Weave the needle in and out through the stitches along the top edge of the tube. Pull the yarn tail tight to close the gap at the top. Secure the yarn with a knot and weave in the end.
- Final Touches: Turn the hat right side out. If desired, attach a faux fur pom-pom to the top of the crown using the remaining yarn ends.
Care & Washing Instructions
- Hand wash in cool water using a gentle detergent specifically formulated for knit and crochet items.
- Do not wring the hat; instead, lay it flat on a clean towel and roll the towel to absorb excess moisture.
- Reshape the hat while damp and allow it to dry completely away from direct heat sources to prevent fiber damage.
Pro Tips & Common Mistakes to Avoid
Maintaining consistent tension is essential for the ribbing to look uniform across the entire surface. If your stitches become too tight, you may find the hat difficult to stretch; consider moving up one hook size if your gauge feels rigid. Always place a stitch marker in the first stitch of every row to ensure you do not accidentally skip the final stitch, as this causes the edges to slant. Weaving in your ends by traveling through the underside of the stitches helps prevent them from unraveling after repeated washing. To adjust the size, simply add or subtract rows of ribbing; each two rows added will increase the circumference by approximately three-quarters of an inch.
Frequently Asked Questions
Can I use a larger hook for this pattern?
Using a larger hook will make the fabric airier and less dense. This may be beneficial if you prefer a slouchy fit, but keep in mind that you might need slightly more yarn to achieve the same coverage.
Is this pattern suitable for complete beginners?
Yes, this is an excellent first project. It focuses on a single stitch type and requires only basic seaming, allowing you to practice maintaining even tension without the complexity of increasing or decreasing.
Can I sell the hats I make from this pattern?
You are welcome to sell finished items created from this pattern. I only ask that you credit the design and use your own original photographs for your listings.
How do I adjust the height of the hat?
To make the hat taller or shorter, simply change your initial chain count. Adding more chains makes a deeper hat that can be cuffed, while removing chains makes a shorter, skull-cap style fit.
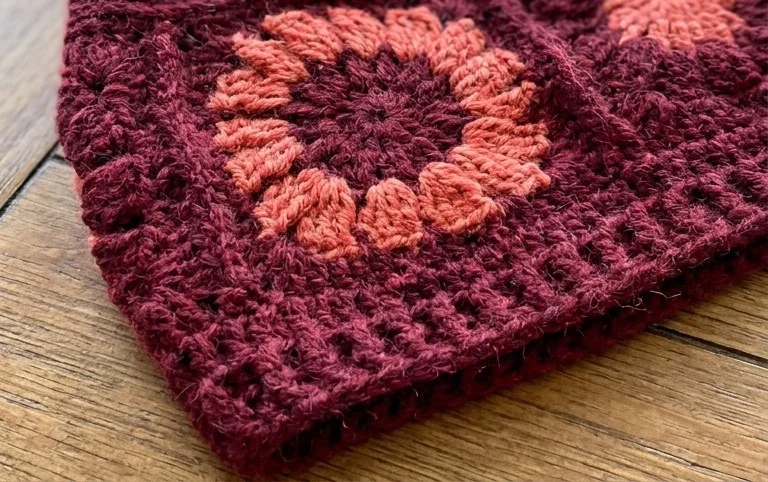
Your finished hat serves as a cozy staple for your winter wardrobe, especially when made in a rich, solid shade like forest green or deep navy. If you prefer a more dramatic silhouette, try adding an extra ten rows to the rectangle to increase the slouch factor significantly. Please share a photo of your work on Instagram or Pinterest to show how your color choices turned out. Browse more free projects on the blog to find your next afternoon craft session or a quick gift idea.