Easy Crochet Border Patterns: Step-by-Step Free Guide
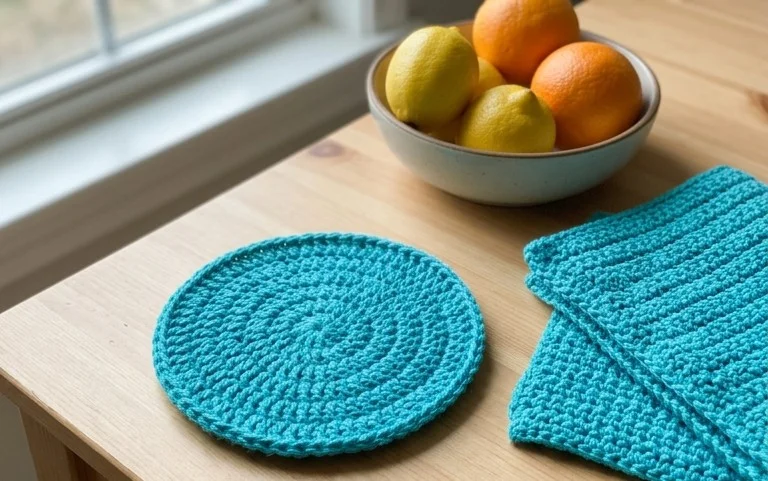
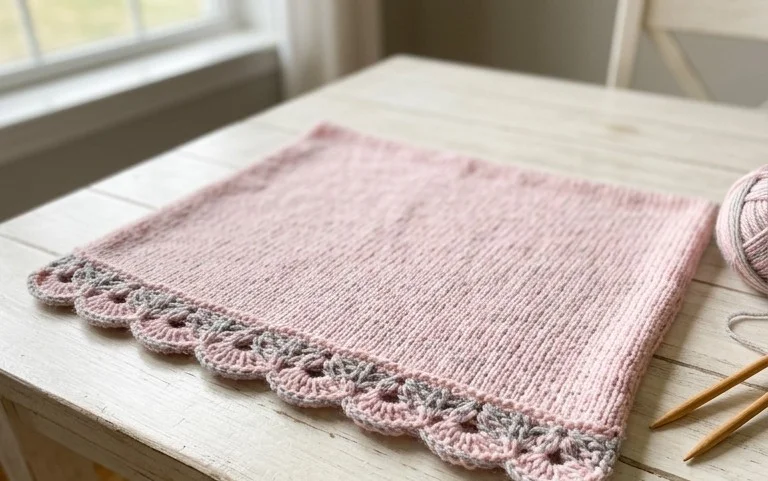
Soft yarn loops create a scalloped border that sits gently against a plain fabric, instantly transforming a simple square into a polished gift. Beginners enjoy this process because it relies on basic chain and slip stitches that require minimal counting while providing a professional finish. You will find that adding this border turns an unfinished project into a complete piece suitable for coasters, washcloths, or small blankets. The techniques here focus on managing tension around corners to ensure your work lays flat without curling. Once you understand the flow of these stitches, you can confidently apply them to any future handmade textile.
Why You’ll Love This Pattern
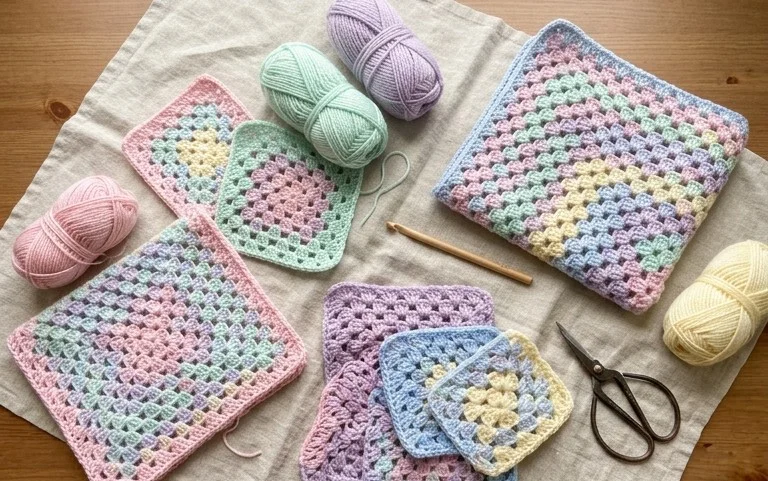
The Classic Crochet Granny Square is the foundation of countless textile projects, favored for its versatility and rhythmic, meditative nature. You can complete a single square in under twenty minutes, making it an ideal choice for using up small amounts of leftover yarn from previous projects. Because the construction builds outward from the center, you have complete control over the final size, allowing you to stop whenever the piece reaches your desired dimensions. This project is highly portable, fitting easily into a small bag for stitching during commutes or while waiting for appointments.
I finally mastered the granny square with this guide. The instructions are so clear that I managed to make a whole blanket for my guest room in just a few weeks.
— Sarah, home crafter
Pattern Overview & Skill Level
- Skill Level: Beginner
- Approximate Time: 15–20 minutes per square
- Construction: Worked in joined rounds, starting from a center ring and expanding outward
- Finished Dimensions: Approximately 5 inches by 5 inches using worsted weight yarn
Materials & Supplies Needed
- Yarn: Worsted weight (#4) acrylic, wool, or cotton blend, approximately 15 yards per square.
- Hook Size: 5.0 mm (US H-8) crochet hook.
- Notions: Tapestry needle for weaving in ends and a pair of sharp scissors.
- Yarn substitutions: You may use DK weight yarn with a 4.0 mm hook for a smaller, tighter square, or bulky weight yarn with a 6.0 mm hook for a larger, quicker square. Changing yarn weight will significantly alter the final dimensions.
Stitch Guide & Abbreviations (US Terms)
- ch: chain
- sl st: slip stitch
- dc: double crochet
- dc-cluster: a group of 3 double crochets worked into the same space
- st/sts: stitch/stitches
- sp: space
Step-by-Step Pattern Instructions
Begin by creating a foundation ring. You can use the magic ring method or chain 4 and join with a sl st to the first chain to form a circle.
Rnd 1: Ch 3 (counts as first dc), work 2 dc into the center ring, ch 2, 3 dc into the center ring, ch 2 3 times. Join with a sl st to the top of the beginning ch-3. (12 dc, 4 ch-2 spaces)
Rnd 2: Sl st into the next dc and into the corner ch-2 sp. Ch 3, 2 dc, ch 2, 3 dc in the same corner sp. Ch 1, skip 3 dc, (3 dc, ch 2, 3 dc) in the next corner ch-2 sp 3 times. Ch 1, join with a sl st to the top of the beginning ch-3. (24 dc, 4 corner ch-2 spaces, 4 ch-1 spaces)
Rnd 3: Sl st into the next 2 dc and into the corner ch-2 sp. Ch 3, 2 dc, ch 2, 3 dc in the same corner sp. Ch 1, 3 dc in the next ch-1 sp, ch 1, (3 dc, ch 2, 3 dc) in the next corner ch-2 sp 3 times. Ch 1, 3 dc in the final ch-1 sp, ch 1, join with a sl st to the top of the beginning ch-3. (36 dc, 4 corner ch-2 spaces, 8 ch-1 spaces)
Rnd 4: Continue the pattern by working 3 dc, ch 2, 3 dc into each corner, and 3 dc into every ch-1 sp along the sides, with a ch 1 separating each cluster. Join with a sl st to the top of the beginning ch-3 to finish. (48 dc)
Care & Washing Instructions
- Hand wash your finished item in cool water using a mild detergent to preserve fiber integrity.
- Lay the piece flat on a clean towel to air dry, reshaping it into a perfect square while damp.
- Do not wring or twist the fabric, as this can distort the crochet stitches and cause permanent stretching.
Pro Tips & Common Mistakes to Avoid
Maintain consistent tension by holding your yarn with a steady, relaxed grip, especially when transitioning between stitches. Always place a stitch marker in the first chain of your starting ch-3 to help you identify the closing point of your round, as it can be easy to lose track of the final join. Weave in your ends as you go, moving your tapestry needle through the back of the double crochet stitches to ensure the yarn tails are completely invisible from the front side. If you want to adjust the size of the square, simply repeat Rnd 4 additional times; keep in mind that each additional round will require approximately 20 percent more yarn than the previous one.
Frequently Asked Questions
Can I use cotton yarn instead of acrylic for these squares?
Yes, cotton is an excellent choice for granny squares. It offers more stitch definition and creates a sturdier fabric, though it may be slightly heavier than acrylic.
How do I know if I am crocheting too tightly?
If your square is cupping or curling upward instead of lying flat, your tension is likely too tight. Try going up one full hook size or consciously relaxing your grip on the yarn.
Is it possible to sell items made from this pattern?
You are welcome to sell finished items created from this pattern. Please ensure you provide credit to the designer in your product listings.
What is the best way to join multiple squares together?
A mattress stitch or a simple single crochet join through the back loops only are both reliable methods for creating a clean, professional seam between squares.
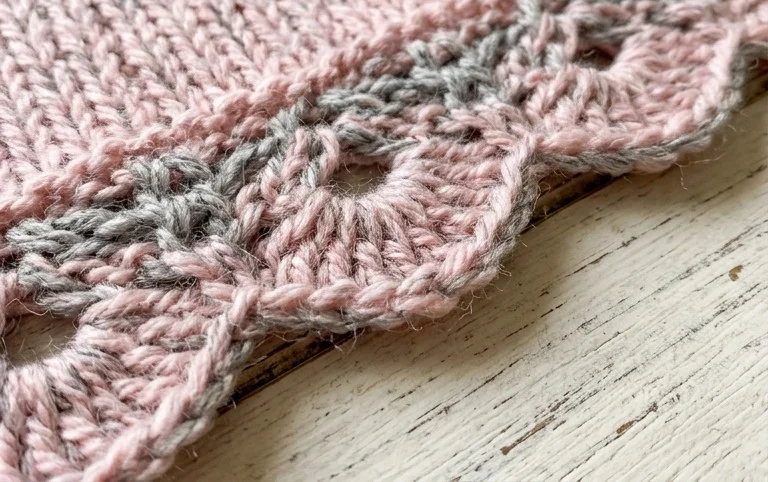
Your finished project now features a clean, professional finish that highlights your hard work and attention to detail. Consider switching to a metallic thread for the final round to give your work a subtle shimmer for holiday gifts. Sharing a photo of your results with others provides great inspiration for the rest of our community. Browse the other free patterns on the blog to find your next project, as we update the library frequently with new techniques for you to practice at home.