10 Easy Granny Square Patterns: Free Step-by-Step Guide
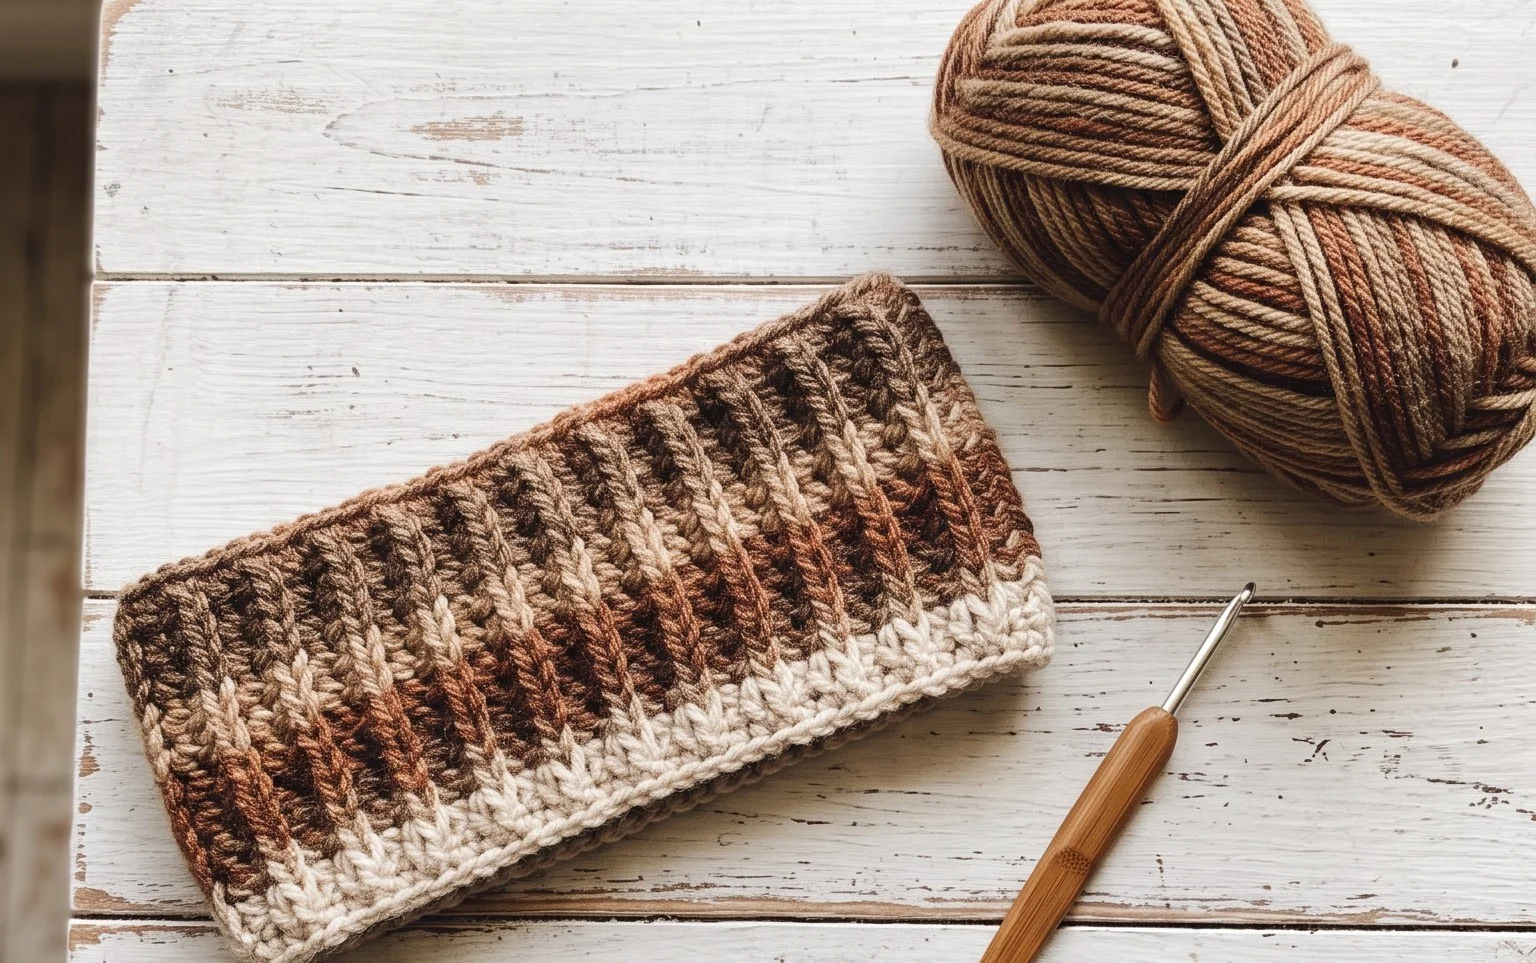
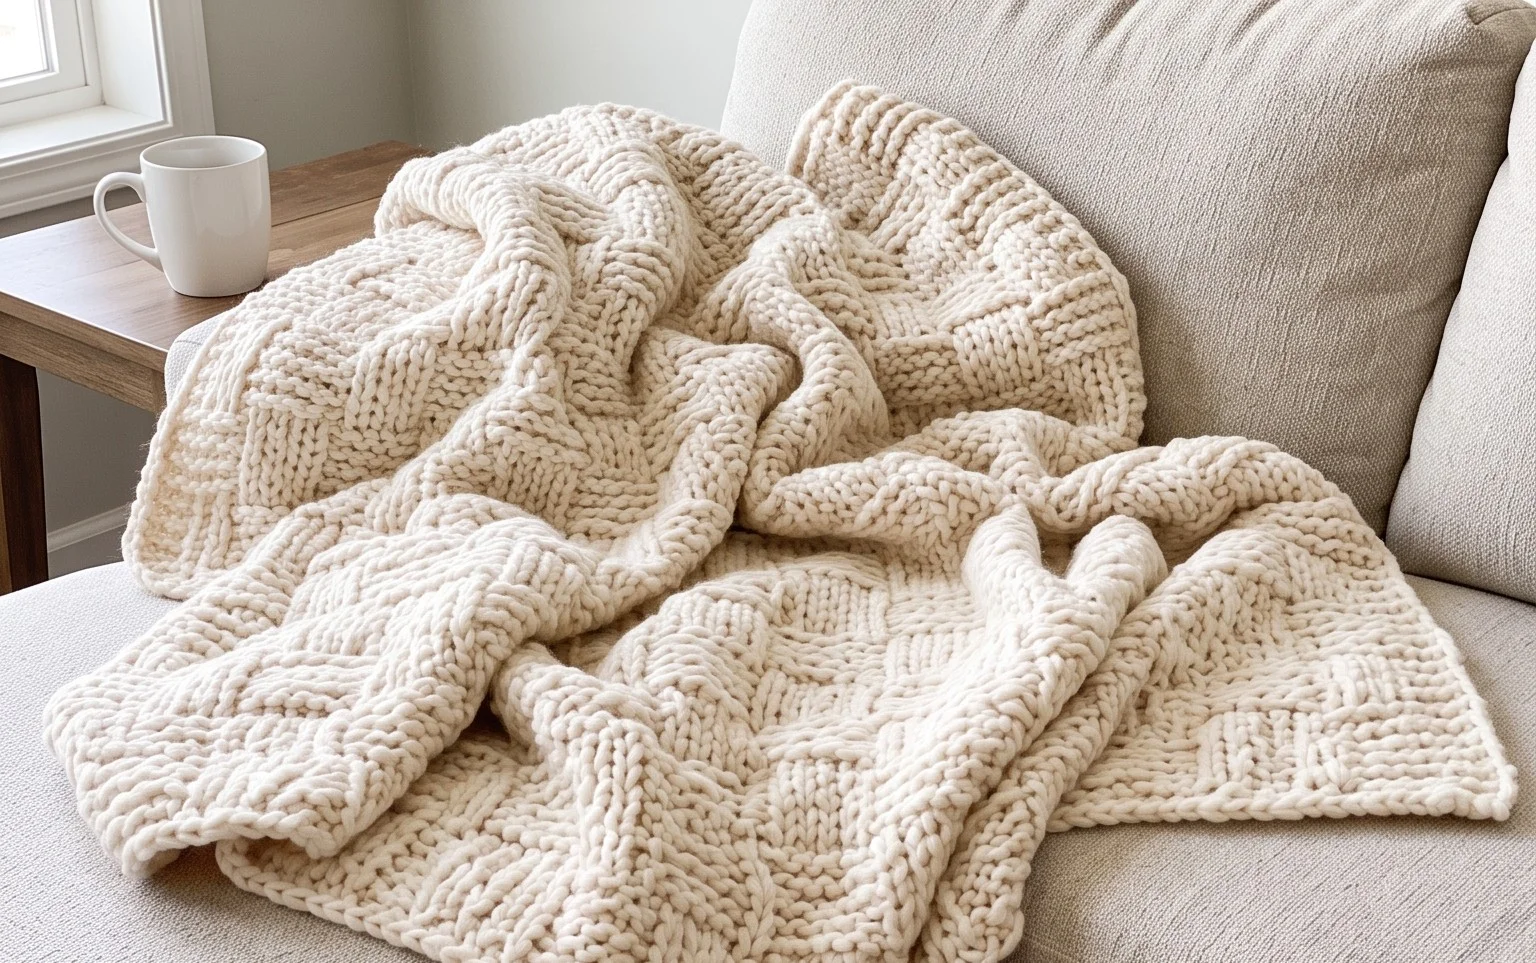
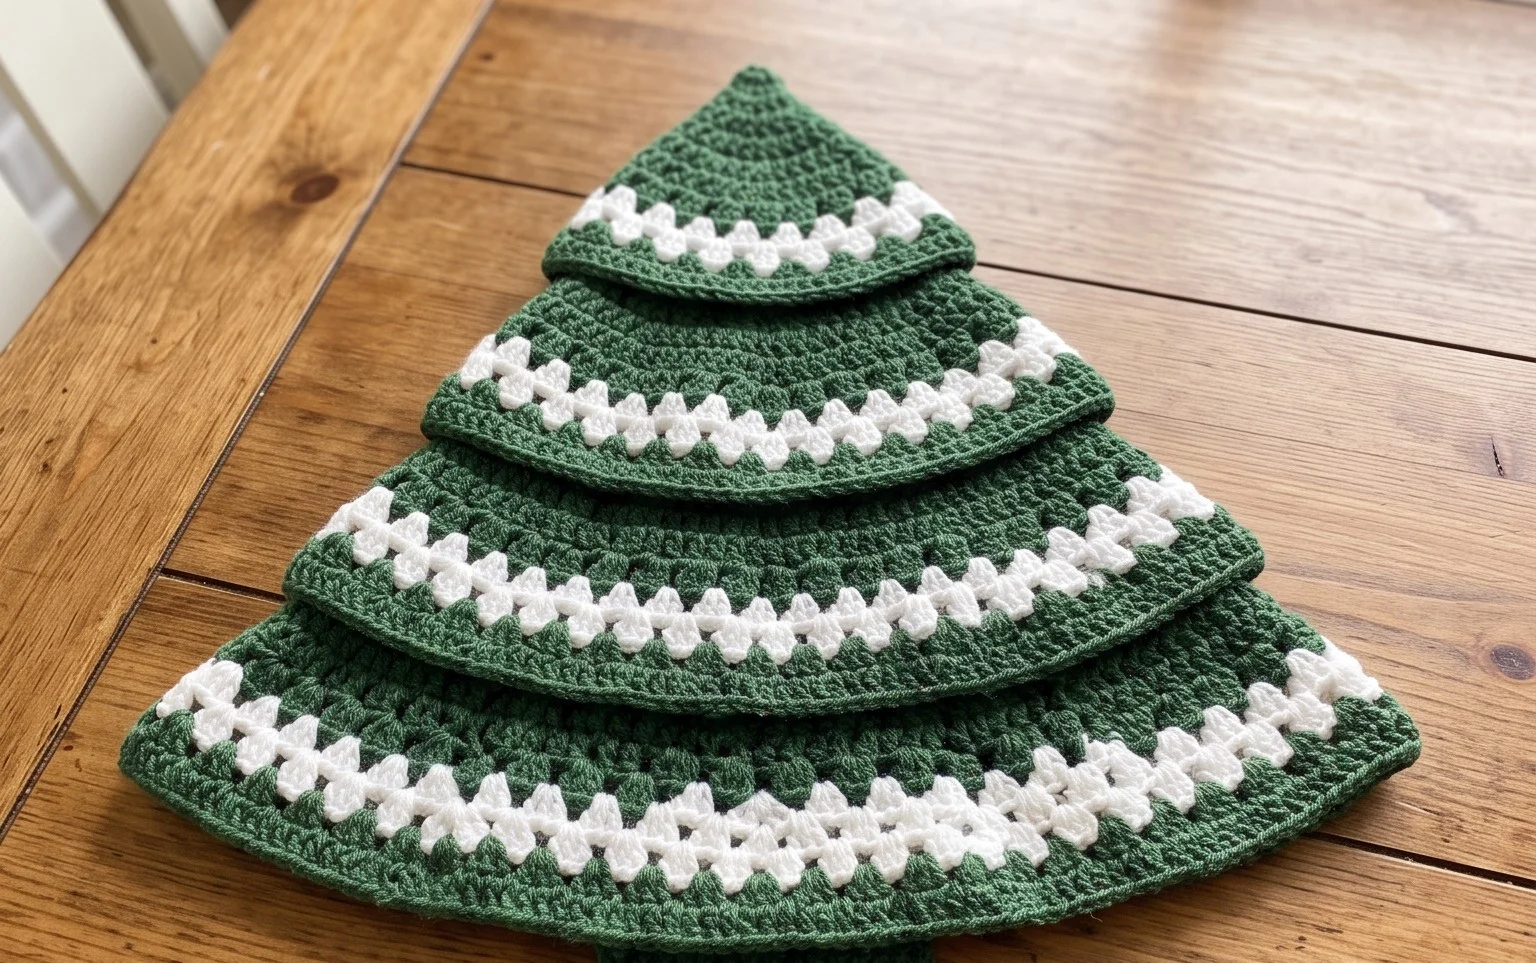
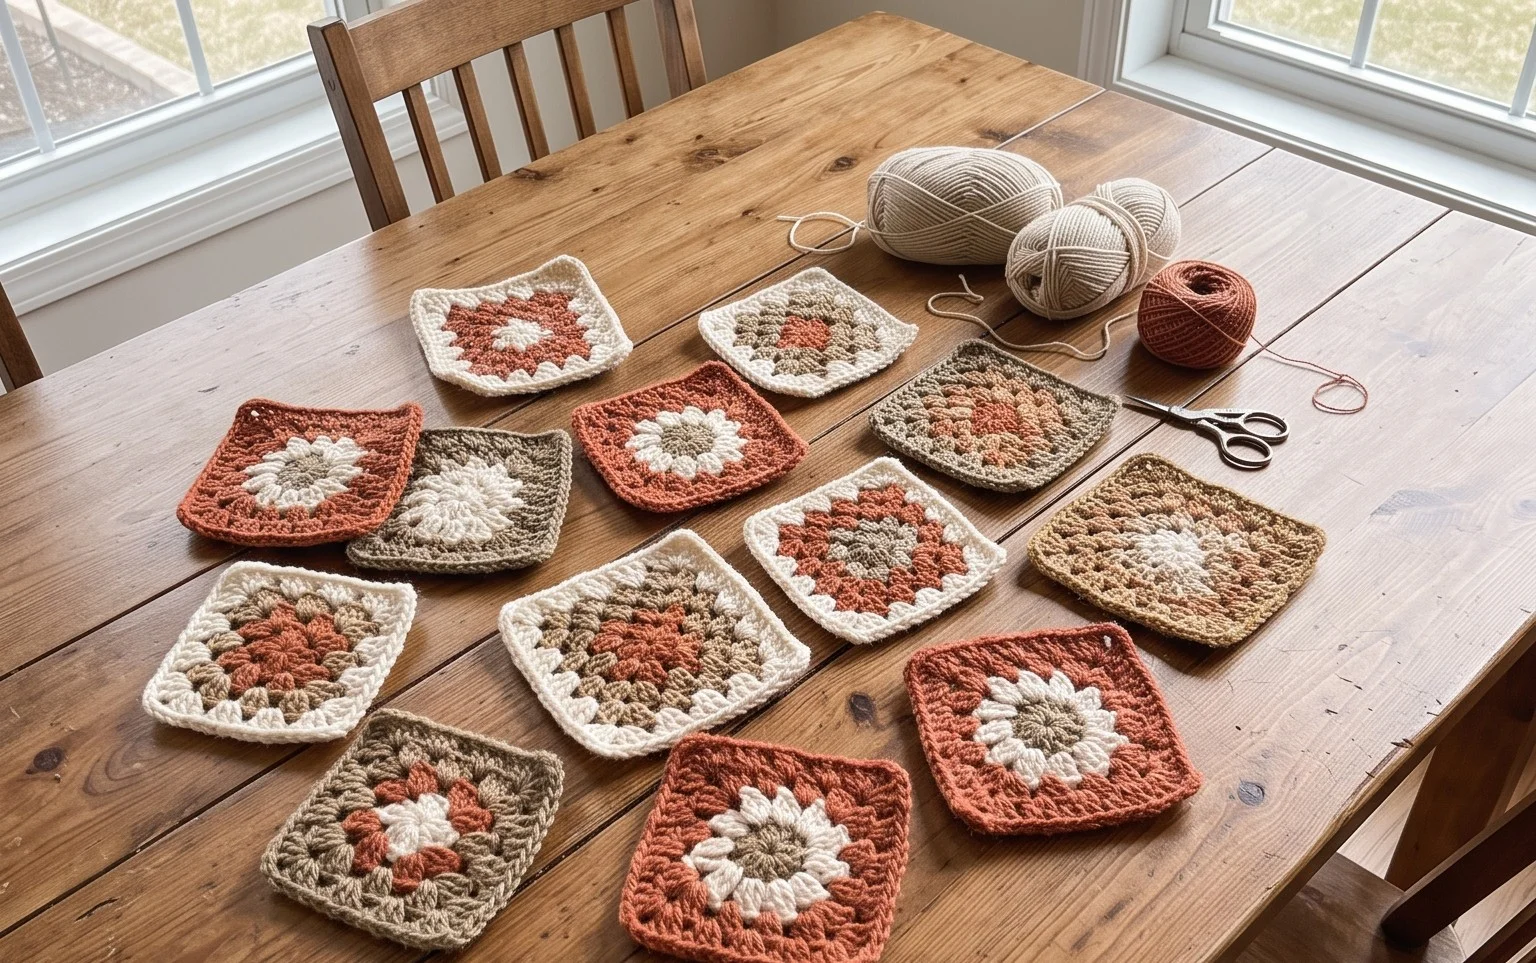
A simple stack of cotton blocks creates a weight and texture that feels sturdy yet soft in your hands. These squares grow quickly, making them a satisfying project for anyone trying to clear out leftover yarn ends or decorate a living room with handmade charm. You will work through classic clusters, tight stitches, and circular motifs that transform into functional blankets, bags, or coasters. We focus on mastering the chain spaces and double crochet clusters that form the heart of these designs. Grab your favorite hook, find some scrap yarn, and prepare to turn these repetitive rounds into colorful, comforting pieces.
Why You’ll Love This Pattern
The Amigurumi Mushroom is a delightful project that uses basic geometric shapes to create a charming, woodland-inspired decor piece. Because it relies on continuous rounds and simple increases and decreases, it provides a rhythmic, meditative experience for the maker. This pattern is exceptionally quick to work up, making it a reliable choice for last-minute gifts or a cozy weekend craft session. It is also an ideal way to use up small scraps of yarn left over from larger garment or blanket projects, as each mushroom requires only a minimal amount of medium-weight yarn.
I finished this mushroom in under an hour and the stitch counts were spot on. It is the perfect size for a desk ornament and the instructions for the stem were very easy to follow.
— Sarah, amigurumi enthusiast
Pattern Overview & Skill Level
- Skill Level: Beginner
- Approximate Time: 1–2 hours
- Construction: Worked in continuous rounds using a magic ring, starting with the cap and stem separately before joining.
- Finished Dimensions: Approximately 3 inches tall by 2.5 inches wide.
Materials & Supplies Needed
- Yarn: Worsted weight (#4) cotton or acrylic blend. You will need approximately 20 yards of red for the cap and 15 yards of white or cream for the stem.
- Hook Size: 3.5 mm (E-4) crochet hook to ensure the stitches are tight enough to keep the stuffing from showing through.
- Notions: Fiberfill stuffing, a tapestry needle for assembly, stitch markers, and scissors.
- Yarn Substitutions: You can use DK weight yarn with a 3.0 mm hook for a slightly smaller mushroom, or bulky weight yarn with a 5.0 mm hook for a larger plush. Note that changing weight will require adjustments to total yardage and may affect the final shape.
Stitch Guide & Abbreviations (US Terms)
- MR: Magic Ring. A method of starting rounds by crocheting over an adjustable loop.
- ch: Chain stitch.
- sc: Single crochet.
- inc: Increase. Work 2 single crochet stitches into the same stitch to add a stitch.
- dec: Decrease. Use the invisible decrease method (insert hook into front loops of the next 2 stitches, yarn over, pull through, yarn over, pull through 2 loops) for a clean finish.
- sl st: Slip stitch.
- st(s): Stitch(es).
Step-by-Step Pattern Instructions
Mushroom Cap
Using the red yarn, work in continuous rounds. Do not join at the end of each round unless otherwise specified.
- Rnd 1: Work 6 sc into a magic ring (6 sts).
- Rnd 2: 2 sc in each st around (12 sts).
- Rnd 3: [1 sc, inc] 6 times (18 sts).
- Rnd 4: [2 sc, inc] 6 times (24 sts).
- Rnd 5: [3 sc, inc] 6 times (30 sts).
- Rnd 6-9: sc in each st around (30 sts).
- Rnd 10: [3 sc, dec] 6 times (24 sts).
- Rnd 11: [2 sc, dec] 6 times (18 sts). Fasten off and leave a long tail for sewing.
Mushroom Stem
Using white or cream yarn, work in continuous rounds.
- Rnd 1: Work 6 sc into a magic ring (6 sts).
- Rnd 2: 2 sc in each st around (12 sts).
- Rnd 3: Working in BLO, sc in each st around (12 sts).
- Rnd 4-7: sc in each st around (12 sts).
- Rnd 8: [2 sc, dec] 3 times (9 sts).
- Rnd 9: sc in each st around (9 sts). Fasten off.
Assembly
Stuff the stem firmly with fiberfill. Stuff the mushroom cap lightly to maintain its rounded shape. Position the stem at the center of the underside of the cap. Using the long tail from the cap, sew the stem to the cap using a whip stitch, catching one loop of the cap and one loop of the stem in each stitch. Secure the yarn and weave in the end inside the mushroom body.
Care & Washing Instructions
- Hand wash in cool water using a mild detergent to prevent the fiberfill from clumping.
- Gently squeeze out excess water and lay the mushroom flat on a clean towel to air dry.
- Reshape the mushroom by hand while it is still damp to ensure the cap remains rounded.
Pro Tips & Common Mistakes to Avoid
Maintain consistent tension throughout the project to ensure the stitches remain tight. If your tension is loose, the fiberfill stuffing will be visible through the gaps. Always place a stitch marker in the first stitch of every round to keep track of your count, as it is easy to lose your place in a continuous spiral. Weave in your ends by traveling through the interior of the stitches; this keeps the exterior looking polished and clean. If you decide to adjust the size of your mushroom by adding more increase rounds, remember that you will need significantly more yarn for both the cap and the stem to maintain the correct proportions.
Frequently Asked Questions
Can I use a different weight of yarn for this pattern?
Yes, you can use any yarn weight provided you use a crochet hook smaller than the size recommended on the yarn label. This ensures your stitches are dense and prevents the stuffing from poking through the gaps.
Is this pattern suitable for someone who has never made amigurumi?
This is an excellent starter project. It focuses on basic increases and decreases, which are the fundamental building blocks of all 3D crochet work.
How do I keep my edges clean when working in a continuous spiral?
Using the invisible decrease method is the most effective way to keep your edges neat. By working through only the front loops of the stitches being joined, you eliminate the visible holes created by standard decrease stitches.
Am I allowed to sell the finished items made from this pattern?
You are welcome to sell finished items created from this pattern. Please credit the design to this tutorial and use your own original photographs for your shop listings.
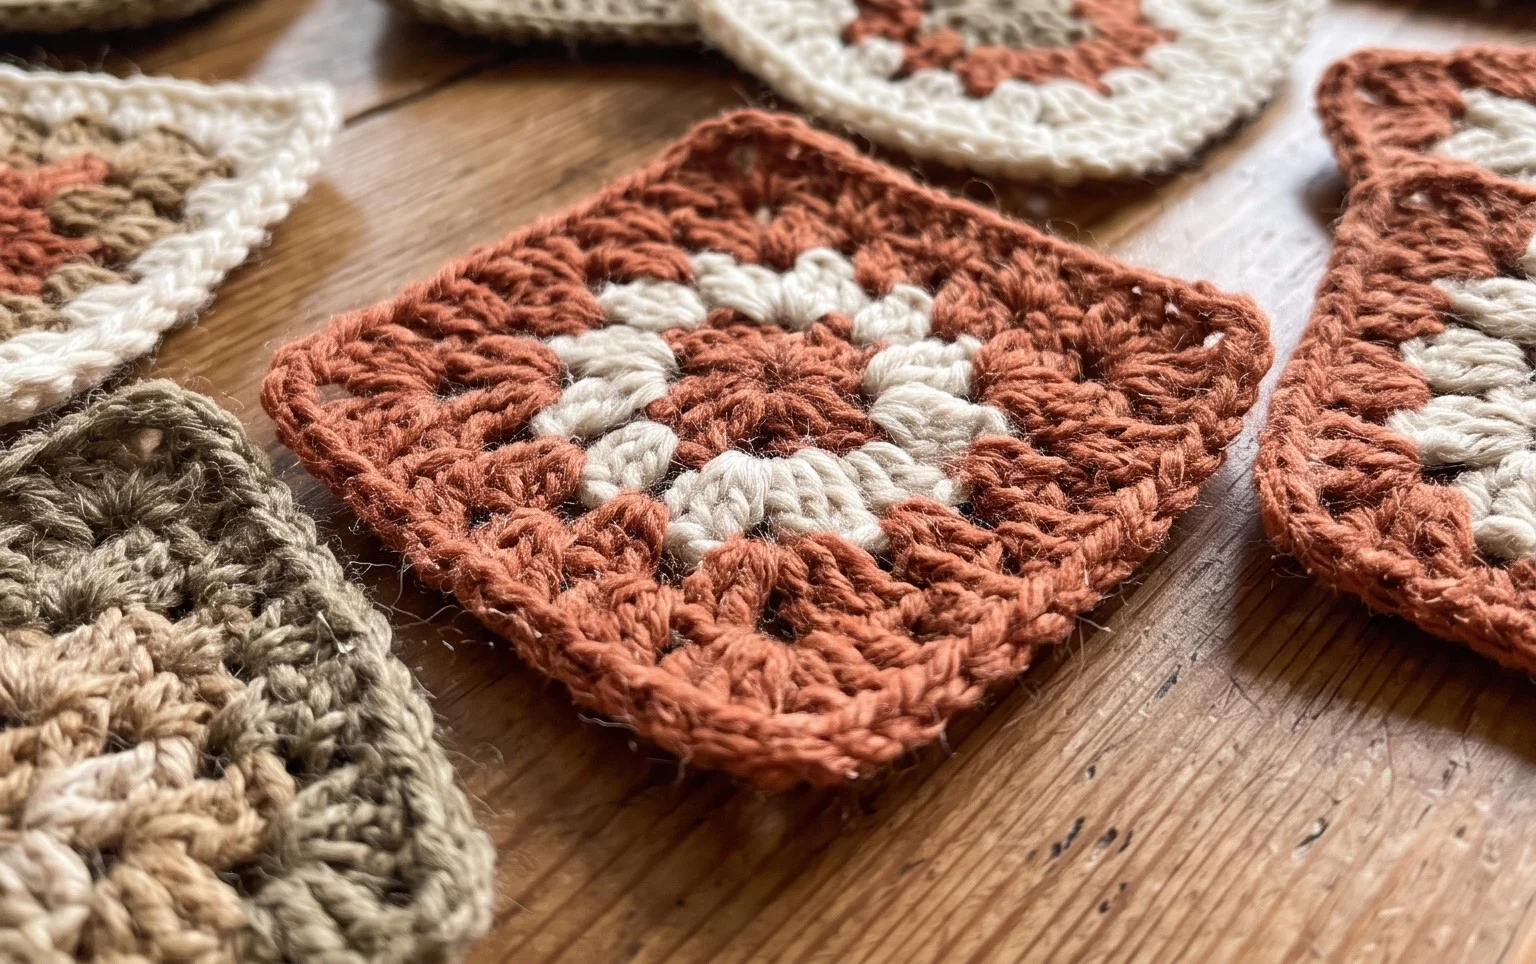
Your finished blocks serve as a tactile reminder of the time spent crafting something useful and enduring. Try swapping a solid wool yarn for a variegated cotton blend to see how color changes alter the geometric appearance of each piece. If you feel like experimenting, join them together to form a larger tote bag or a small lap blanket. Share a photo of your work online to show how your color choices came together. Feel free to browse through our other free patterns to find your next project.